Winter Layering Techniques Made Simple for Hikers
You need to make sure you have your winter layering techniques down before hiking in colder weather.
Layering can be a challenge. It all depends on your level of exertion and what the temperature is going to be throughout the duration of your entire hike. The way your body reacts to cold and heated environments will also matter. Finally, will there be any precipitation at all? Because that is going to matter big time.
Sweating in the cold is dangerous when unmanaged, so I’m going to show you exactly what your winter layering techniques should look like so you can enjoy hiking in the winter like the rest of us.
Quick Winter Layering Techniques Formula
There are three elements that you need to be aware of when it comes to winter layering techniques for hiking.
The Base Layer is your second skin. These should be materials that help manage moisture, next to the skin, but still comfortable enough to wear on their own if needed.
Your Mid Layer is going to be your insulating layer. This is what is going to create heat for you, but you’ll also need to be a pro at layering this layer to control that heat.
An Outer Layer is your weatherproofing kit. This isn’t always needed, but when it is used, it will protect you from rain, sleet, and snow, which is extremely important.
Understanding what each layer means for winter layering techniques is critical for your comfort and, most of all, your safety while hiking in the cold.
Understanding Heat, Sweat, and Wind
Winter layering techniques are better understood when you understand how heat, sweat, and wind impact your hike.
Think about conduction, convection, and evaporation. As you make contact with the cold ground, it will take away heat from you (conduction). When the cold air and wind cut through you, it also takes away heat from you (convection). In winter weather, sweat made from body heat needs to be removed to help keep you dry (evaporation).
It’s good to be a little bit cool while you’re hiking so that your body heat and temperature can do their job in keeping you comfortable.
If you’re shivering, in pain, or uncomfortably cold on your hike, then you’re underdressed. If you’re so warm that you’re sweating, then you’re overdressed. You need to be somewhere in the middle of that to be comfortable while hiking.
This is why it’s so important to understand each of the winter layering techniques so that you can be comfortable for your entire hike.
Base Layer – Moisture Management
The first of the winter layering techniques for hiking is understanding your base layer, which is how you manage your moisture (sweat).
The material of your base layer clothing should be moisture-wicking. That means it needs to be synthetic or wool-based materials. A pair of normal wool hiking socks, leggings or tights, and a compression t-shirt or long-sleeve shirt would be a good base layer.
Your base layer should be lightweight. It should also be a second skin, meaning compression or next to the skin is going to be ideal. The idea of this layer is to grab moisture (sweat) from your body and dry it off, keeping you dry and not exposed to cold temperatures.
A good pro tip would be to carry an extra base layer top with you to change into at camp or on a long break, as your top will be the most likely area to collect sweat, especially if you wear a backpack.
Mid Layer – Heat Management
Your mid layer is what you will wear over your base layer, and it is responsible for providing extra heat and warmth to your body.
Materials such as fleece are going to be ideal for your mid-layer top and some bottoms. Fleece-lined shirts, insulated-leggings, and thicker wool socks will make for a good mid-layer. You could also wear hiking or trekking pants with different thicknesses, depending on the temperature you will be hiking in.
Active insulation is going to be your best friend while hiking. This is pretty much the heat that is going to be created as you move. Like I said, it’s good to start out cool so that your body heat can do its job as you move.
Puffy coats will make a good mid-layer. There are down puffy jackets and synthetic puffy jackets. A down puffy is lighter, more packable, and will often keep you warmer, while a synthetic puffy is meant more to help with moisture management, whether it’s from sweat or rain.
While layering your mid, you might use multiple layers. You just want to make sure you can add and remove layers as needed and not add so many that you’re going to sweat. Sweat is a killer in the cold, as cold air will make its way to it and then freeze you out.
Outer Layer – Weather Management
The outer layer is one of the winter layering techniques that isn’t always needed, but should be understood by all means.
In this layer, you’re weatherproofing yourself. If it’s going to rain, sleet, or snow, then you need an outer layer. This is your shell layer, and it’s meant to keep precipitation from reading your other layers.
Depending on the type of precipitation falling on you while hiking, you’ll either wear a soft or hard shell layer. This could mean a light raincoat or rain suit, to even a heavy waterproof jacket.
You’ll want to master the art of venting when using outer winter layering techniques, as these layers can cause more sweat because they’re heavier and not as breathable. Get layers with arm pit zips and leg zips to help vent yourself properly.
Layering From the Head Down (Body Blueprint)
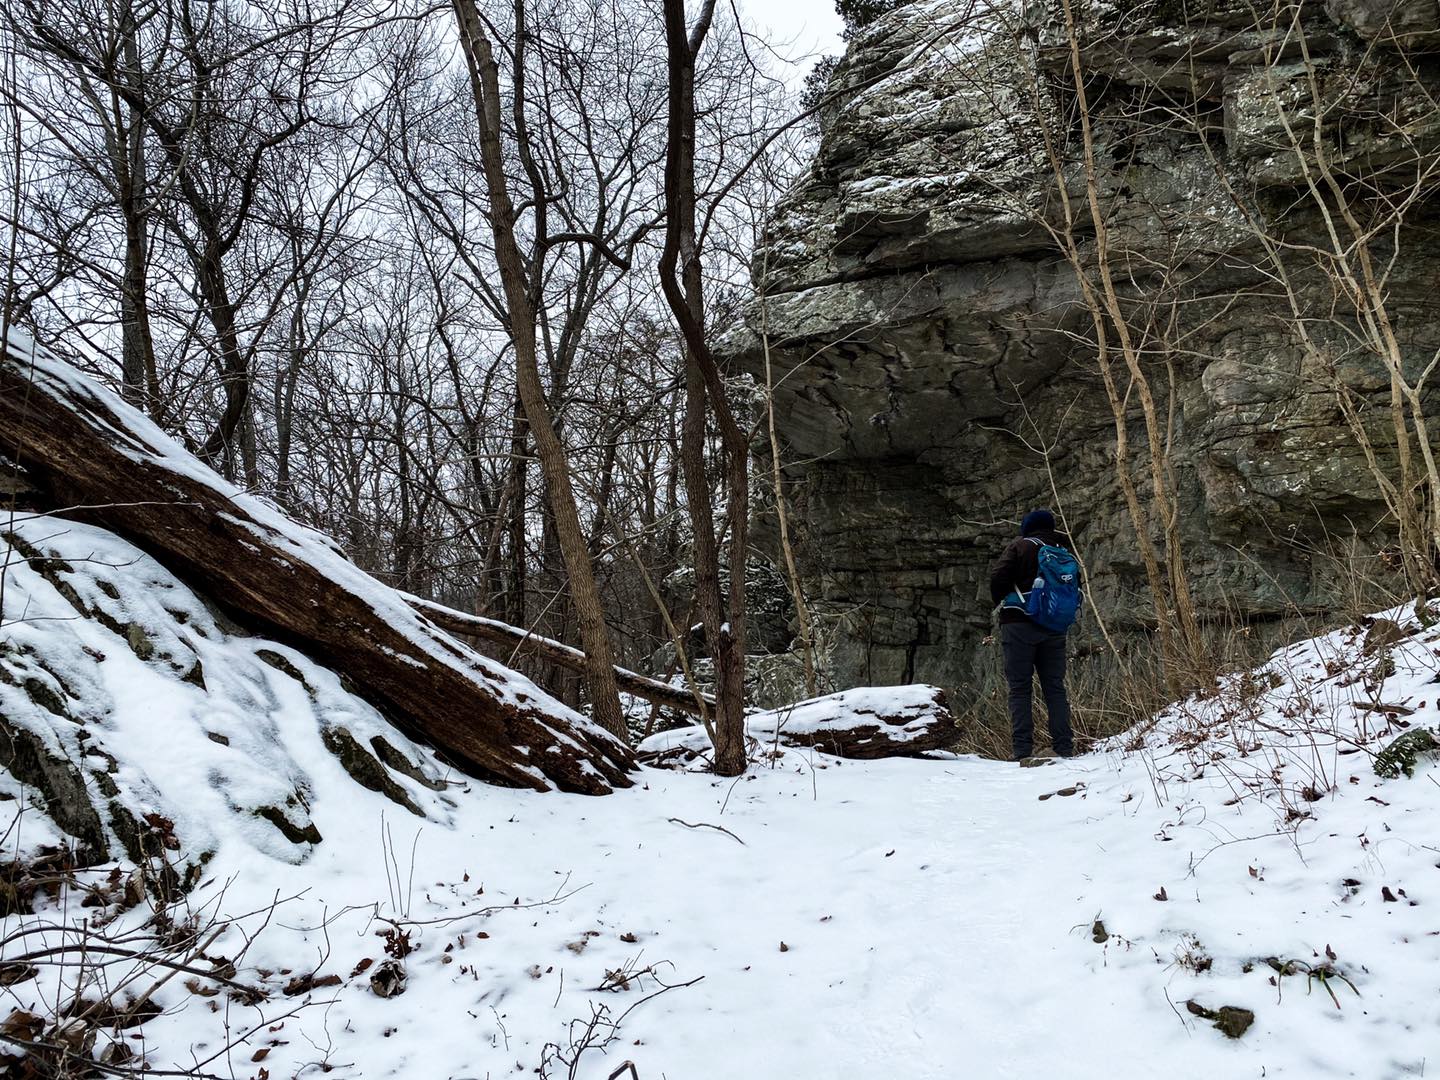
For a quick winter layering techniques checklist, see the following blueprint on how I layer for winter hiking in the Shawnee National Forest.
- Head: I wear a beanie or a hoodie hood to start. I might have the hood on my thick coat or a raincoat, also integrated based on the temperature and precipitation.
- Face: I sometimes wear a facemask when it’s so cold that the wind chill is in the negative temperatures. I try to do shorter hikes when it’s that cold.
- Neck: I might wear a neck gaiter on colder wind-chill hikes to protect my neck.
- Torso: I typically wear a compression shirt as my base, a hoodie as my mid, and a thick jacket or rain jacket as my shell if needed. I get hot very easily.
- Hands: I have glove liners and regular winter gloves that I wear when there is a freezing wind chill.
- Legs: As my base, I wear a pair of running tights. I might wear insulated running tights if it’s really cold. I have thin and thick hiking pants. I never wear rain pants.
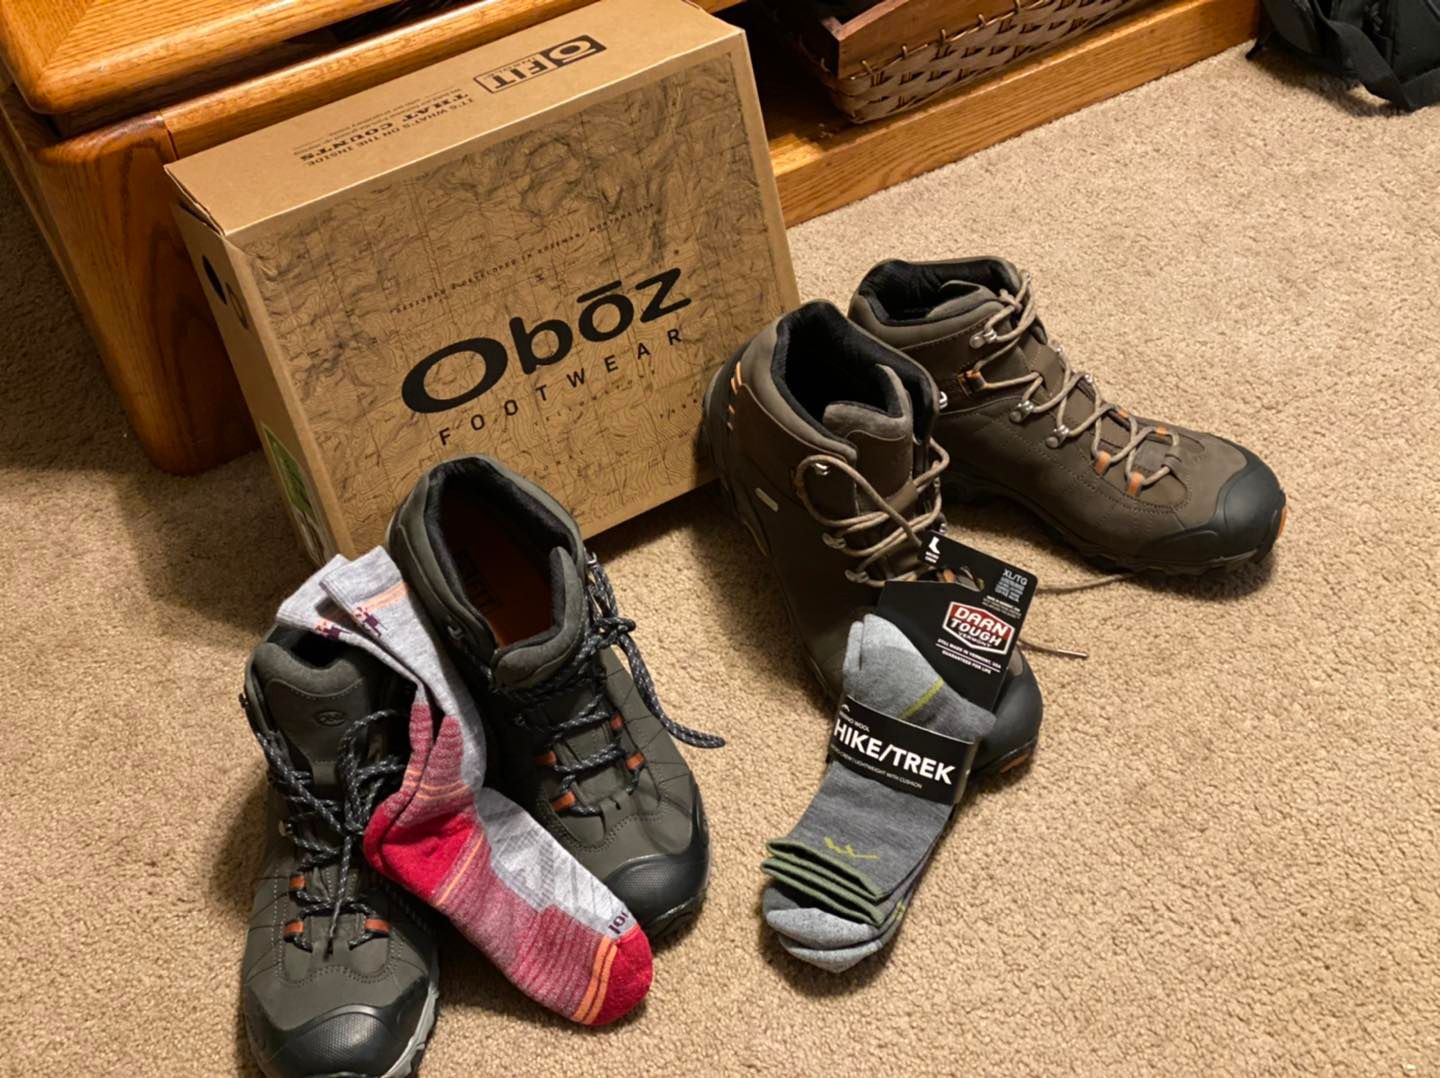
- Feet: For my socks, I usually wear wool hiking socks and thick alpaca wool hiking socks when it’s really cold. I wear waterproof hiking boots during winter weather.
As I said, I get hot easily. So, sometimes, I’m stripped down to just my tights and mid-layer shirt on the trail because I have to be able to control heat and moisture better. Not everyone is the same, though.
Different Weather Conditions
Factor in the different weather conditions you’ll be hiking in to determine how you should use your winter layering techniques.
If it’s cold but also wet, you’ll need a shell to protect yourself from precipitation. If you get wet while hiking, it can be dangerous to you.
If there is a freezing wind chill, it won’t take much for the wind to cut through your layers. I remember wearing a pair of insulated running tights over non-insulated tights at one time because the wind chill was so bad.
You really have to pay attention to your local weather forecast before hiking during wintry weather conditions in order to be safe and comfortable out there.
Pack a Layers Kit
I carry a layer’s kit with me just in case I get soaking wet and need a dry outfit really fast to prevent cold-weather hazards.
I carry a pair of dry, thick wool socks, insulated running tights, and an insulated running long-sleeve shirt. These layers are good enough to wear alone and also extremely lightweight, so I don’t even know they’re in my pack.
Make sure you keep your layers kit in a waterproof bag in case your pack gets wet.
As a pro tip, you can use your layers kit as a pillow if you want to be ultralightweight while backpacking.
Moisture and Temperature Control
Moisture and temperature control are going to be your best moves for winter layering techniques.
Start your hike feeling a little cool. This will help control your body heat as you move.
Vent your layers as early as possible and as much as possible. This helps to cool hot spots down and control moisture.
Pay close attention to areas where sweat is developing. Your back is a big area because of your backpack resting on it. Sweat is a silent killer because when cold weather gets to it, you can get hurt as a result.
Common Mistakes to Avoid
There are a few common mistakes you want to avoid with winter layering techniques.
- Stay away from cotton. Cotton holds in moisture and doesn’t breathe well.
- Don’t just take one jacket and think that’s all you need. A jacket is just one layer.
- Don’t skip out on face protection. Your nose, mouth, and eyes all create moisture.
- Make sure you always bring warm gloves with you in case they get cold enough to need them.
- Don’t make the mistake of layering too much. If you’re too hot, you sweat, and that can cause you to become colder a lot quicker.
Safety Accessories and Add-Ons
Here are some additional safety accessories and add-ons to make your winter hiking adventure a little safer.
- Survival gear: Something to sleep under, cover up with, and build a fire if needed.
- Food: Bring enough food and water (and snacks) to last a few days.
- Talk close: If hiking with another, talk closely together to conserve and share body heat at a closer range.
- Boots: Consider different boots for different winter layering techniques.
- Yaktrax: These are great to help you gain traction while on the ice and snow.
- Trekking Poles: These will help you keep your balance as you hike.
- Hat/Beanie: Keep one in your pack in case you ever need it.
- Gloves: Keep them in your pack if you ever need them.
- Buffs/neck gaiters: These are nice to have if it gets cold enough to need them.
- Sunglasses: Wear these to protect yourself from snow blindness and the sun.
Final Thoughts About Winter Layering Techniques
The most important of the winter layering techniques is to control moisture on your body.
That means you need to get a grip on your sweat. If you sweat too much and cold air gets to it, you’ll be uncomfortable for your hike, and it can even put you in danger. Learn your layers and control your moisture so you can enjoy your hike.
If you’ve enjoyed reading this article and you’d like to support my efforts for providing it for free, consider becoming a Patreon Member for a few dollars a month to help support me.
Be sure you subscribe to my monthly newsletter, too. I send out more hiking tips, reviews, and upcoming events that I don’t post anywhere else.
And until next time, I’ll see you on the trail!

Shawn Gossman
Founder, Hiking with Shawn
Howdy folks! My name is Shawn Gossman and I founded Hiking with Shawn. I’m an avid hiker, cyclist and outdoorsman here in the Shawnee National Forest. I was born and raised in Southern Illinois and never want to leave. Click here to learn more about Shawn Gossman


