How to Navigate Hiking Trails in Heavy Snow
Knowing how to navigate hiking trails in heavy snow is an important skill, as it can help keep you safe and sound.
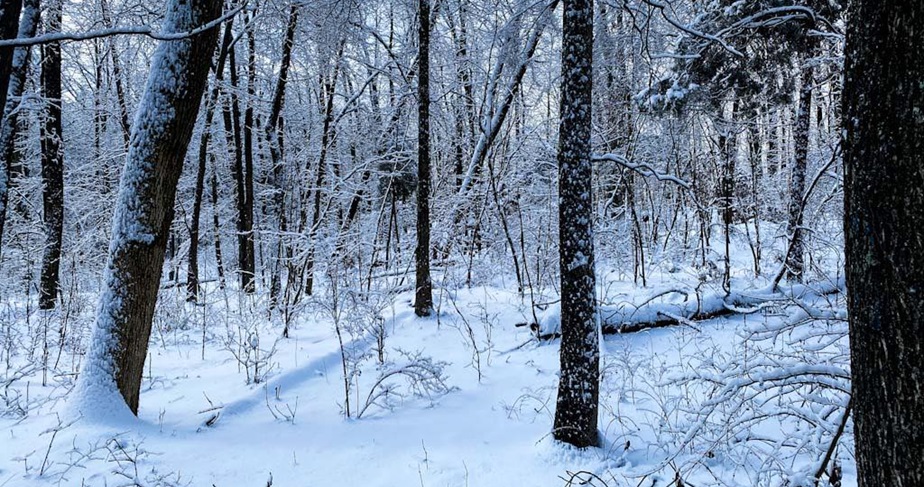
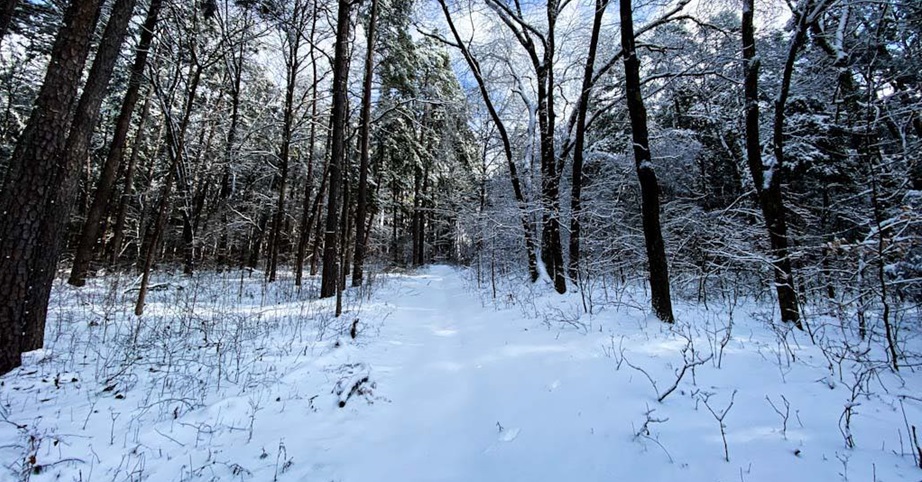
During a heavy snowstorm, you can imagine that a hiking trail is going to be treacherous. Trail blazes will be buried, there will be no tracks in the snow, and the trail will likely disappear from sight. Nature will take over nature during this kind of inclement weather.
In this guide, I will share with you the practical and effective techniques for navigating hiking trails in heavy snow, drawing on my own experiences, successes, and failures.
As a disclaimer, it’s essential to understand the risks associated with hiking during heavy snow events. Hypothermia, frostbite, hidden voids under the snow, and, where applicable, avalanches will often be the primary hazards. When in doubt, you should always turn around and come back when it’s safer to do so.
Read the Conditions Like a Pro
Before you learn how to navigate hiking trails in heavy snow, you need to learn how to understand the weather conditions to remain as safe as possible.
Make it a daily habit to look up the local weather conditions, nowcasts, and upcoming forecasts. Be especially mindful of wind speeds and gusts, direction, temperature (both real and felt), snow totals, and potential re-freeze. Make it a point to learn and understand each weather term.
Look up any trail or road closures in the area you plan to hike in and check on the day before you go.
If you’re in avalanche country, check avalanche conditions. An avalanche is extremely hazardous, and many people lose their lives because of them. Without something able to quickly jump into action and perform lifesaving methods, you will likely die if an avalanche covers you with snow.
Pay attention to the sunrise and sunset times for the area, as this will help you judge how much daylight you’ll have to spare for your hike.
It’s important to keep in mind that you’ll move more slowly in heavy snow. Walking in heavy snow is like walking through water; the elements will slow you down. It’s also a workout, and you will become significantly fatigued from it, so plan your day accordingly to avoid running out of daylight.
Choose a Route You Can Actually Finish
If you want to try your luck and navigate hiking trails in heavy snow, choose a hiking trail that is actually achievable during heavy snow.
Look for trails that are well-marked and have clearer paths. In many cases, horse trails will be better options because the blazes will be so high up in the tree that deep snow shouldn’t cover them. If you choose trails that are rarely used, you’ll likely find yourself losing the trail often.
Out-and-back trails will be your best option, as you can follow your tracks and avoid trail disruption activities once you’re ready to return to the trailhead.
Look at the map before you go out on your hike. Look for options to bail out just in case you need to get off the trail sooner than you thought. Look for ways to shorten your hike, if necessary, as anything can happen.
Plan your route thoroughly and stick with it so that you can have a positive experience as you measure your ability to navigate hiking trails in heavy snow.
Build a Redundant Navigation Stack
When navigating hiking trails in heavy snow, navigational gear and your navigation system will become your top priorities.
You should attempt to learn and understand how to use a paper topographic map and a compass. When all else fails, this will save you. Place your map in a waterproof sleeve to protect it, and invest in a compass that is suitable for use in the elements.
A good altimeter on your phone or even on a sports watch is also a valuable piece of gear, as it can tell you your elevation and even warn you when a storm is approaching.
Consider carrying a dedicated GPS unit or, at the very least, a reliable hiking app on your phone. In most cases, you’ll need to be able to download the maps on your hiking app before you venture out to the trail. Be sure to bring a power bank and a charging cable to keep your phone charged.
Consider using a Personal Locator Beacon (PLB) just in case you need to call for emergency assistance, as anything could happen out there.
Take advantage of waypoints on your GPS or phone app. Put a waypoint on your vehicle or the start of the trail, trail junctions, creek crossings, and turnaround/bail-out points along your planned route. These waypoints may save you in the event of an emergency evacuation.
When using electronics, be sure to cold-proof your gear by using winter-specific batteries, hand warmers, and other techniques to keep your gear warm, as cold weather can drain a battery very quickly.
Read the Land When the Trail Disappears
Try to become one with the land. The better you can read the land when the trail disappears, the easier it will be to hike it. Every hiker should become more aware of the land they’re using to navigate on.
Follow the trail corridor, looking for cut banks, benched tread, and drainage features to help you stay on the path.
Look for signs of a trail, such as blazes on the trees. In some cases, legit cairns or rock stacks will be made to help you navigate the trail in rugged and wilderness areas. You might also look for the tops of saw-cut logs to help indicate where a trail could be in heavy snow.
In areas where the sun hits, these parts with thin and melt the fastest, giving you potential clues where the trail might be.
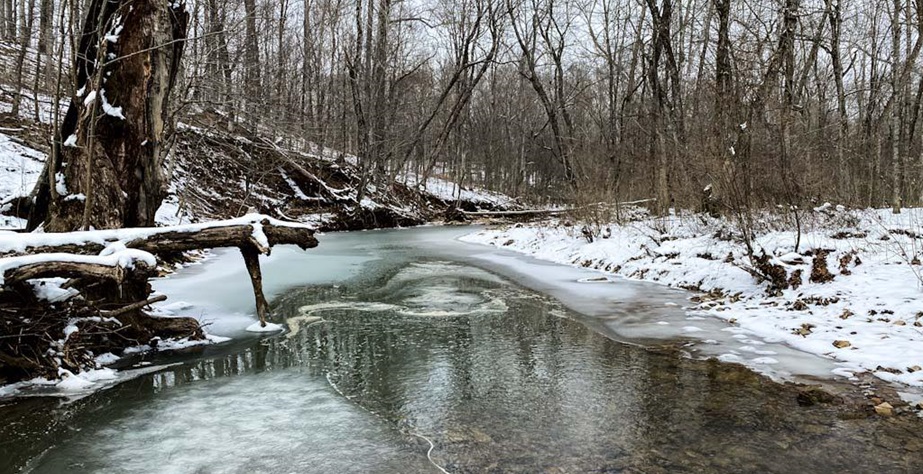
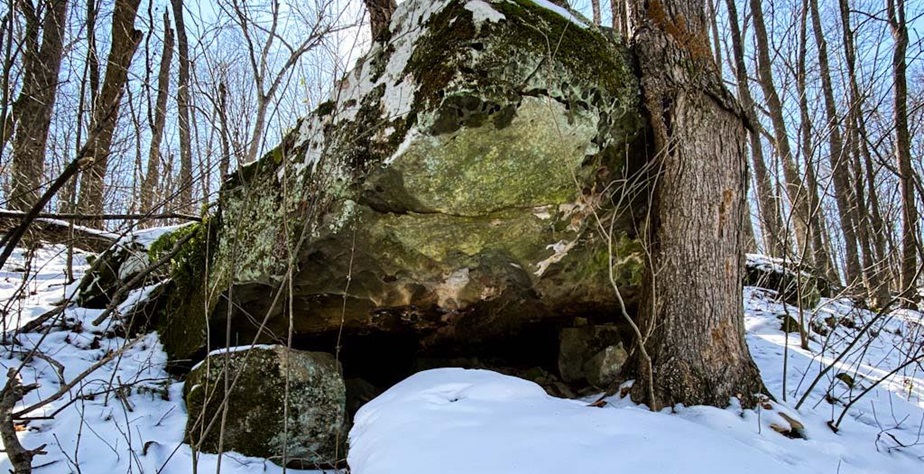
Just be aware of the hidden hazards on the trail. Creeks could be covered by snow, and voids, rocks, and logs could be buried beneath your path. Large holes and crevices could also be covered up, and falling into them could be very hazardous to your health.
Footing and Movement Techniques
Navigating hiking trails in heavy snow also depends on your footing and movement techniques.
When hiking in a group of two or more, take turns breaking the trail. This is when you walk through the snow and create a path for other hikers to follow. Taking turns will help each of you work as a team and conserve energy.
When going up and down a hill, plant your trekking pole uphill and shorten your stride for balance as you kick flat steps up and down the hill.
Consider what type of traction you will be wearing on your hike. Microspikes, Yaktrax, and other traction devices are great choices for snow and ice. However, you may also need snow boots for added grip and to keep your feet dry.
Even if you don’t normally use trekking poles, they might be ideal for use as you navigate hiking trails in heavy snow.
Consider how you will cross streams and creeks with snow and ice present. You can balance on rocks and use your trekking pole to help stabilize yourself. In some cases, you might pack sandals or Crocs to wear across the creek if it’s too deep without getting your shoes and socks wet (since you’ll take them off).
Stay Found Techniques (So You Don’t Have to Get Found)
It’s important to stay safe when you navigate hiking trails in heavy snow so that no one has to risk their safety to save you.
If your phone app or GPS allows for it, use breadcrumb recording. This allows you to create digital breadcrumbs to follow back out if you get turned around. You can also use waypoints and mark notable points along the way to have something to look for on a return hike.
In the event of a whiteout, you will need to completely rely on your GPS or phone app in most cases in order to navigate the trail.
Tell someone where you’re going before you leave. Print out a map, draw a car where you will be parking, and trace the area or circle where you will be hiking. Give them a map to someone to use in case you don’t make it back on a certain day, so that the authorities know where to start looking for you.
If You Get Off Route
Getting off route while navigating hiking trails in heavy snow is quite common, and it’s essential that you’re prepared for it.
Remember the word STOP. Stop hiking, Think about what you’re doing, Observe your surroundings, and Plan your next move. The most important thing is that you continue to remain calm and reduce stress, as it can lead to making mistakes.
Return to the last point you were at before you got off route and physically mark it with a tree ribbon or similar marker, so that you have something to fall back on.
If you have a PLB and you’re lost, consider activating it. Carry a whistle so that you can blow on it when you start to hear rescuers calling out to you. Carry a flashlight so that you can produce light as it gets darker.
Group Management in the Winter
Hiking with a group in heavy snow is safer and smarter than doing it alone, as you can better take care of each other.
Take breaks often, and when you do, everyone should check each other’s clothing by removing snow and checking for wardrobe malfunctions. The idea to that no one should be sweating or shivering. It’s essential to regulate body temperature effectively through proper layering techniques.
Everyone should wear high-visibility clothing, shells, or rain jackets so that others can easily see them in heavy snow and darkness.
The roles should be rotated frequently. This means that everyone should take turns leading the hike as well as watching it from behind to ensure everyone stays with the group. Put the slowest hikers to the front so they can help set the pace for the entire group.
In the summer, we stop and check each other for ticks, but in the winter, we stop and check each other for hypothermia and frostbite.
Navigation-First Gear List
It’s essential to bring the right gear with you as you navigate hiking trails in heavy snow.
Bring a paper map, compass, GPS, phone app with offline maps, charging cord, and a power brick.
Wear traction control devices such as Microspikes or Yaktrax.
Consider bringing telescopic trekking poles and using them when you need to better balance yourself, such as on up and down hills and during creek crossings.
Wear durable hiking boots that will keep your feet warm and dry, and opt for breathable layers of clothing to manage your body temperature and minimize sweat.
Bring an emergency shelter, sit pad, blanket, and headlamp in case you have to stay overnight in the event of an emergency.
Bring a fire-starting kit in case you need to start a fire to stay warm or dry off your clothing.
Always pack a small first aid kit with supplies that you know how to use.
Bring more food and water than you’ll need so that you have enough to last you in the event that you’re out in the woods longer than you anticipated. Bring a water filter in case you need to filter snow into drinkable water.
Always try to follow the 10 essentials of hiking gear, whether you’re hiking in the snow or the dead of summer.
Final Thoughts About Navigation Hiking Trails in Heavy Snow
The number one tip I’ll give you as you consider how to navigate hiking trails in heavy snow is to prioritize safety.
Plan your hike before you even begin. Planning will reduce any hazards, stress, or negative impacts you might face on your winter-time hiking adventure. Make sure you stick to the plan, too; otherwise, it will be useless.
If you’ve enjoyed these winter hiking tips, consider showing your support by becoming a Patreon Supporter for just a few dollars a month. Your support will help me greatly.
Subscribe to my free monthly newsletter for more hiking tips, gear reviews, and upcoming local events in and around the Shawnee National Forest.
And until next time, I’ll see you on the trail!

Shawn Gossman
Founder, Hiking with Shawn
Howdy folks! My name is Shawn Gossman and I founded Hiking with Shawn. I’m an avid hiker, cyclist and outdoorsman here in the Shawnee National Forest. I was born and raised in Southern Illinois and never want to leave. Click here to learn more about Shawn Gossman


